
HOW TO: Self-Organized Invoicing is Here!
We know staying organized is at the top of any business owners list of priorities. So, we created self-organized invoicing.
Here’s what it’s all about.
As you know, Invoice Home has a single field for your customer’s info. That means you can easily copy & paste a customer's name and address in one swift move.
Once you enter the info, our system analyzes invoices, and saves your customer’s information. The info is then stored in your “My Customers” list, so you can use it over and over. No need to type, no need to copy, no need to paste.
Here’s how to use this feature.
Desktop
1. Sign in to Invoice Home here.
2. Click on the “My Customers” tab.

3. Click on your customer’s name. A new page will open with all of the documents you’ve created for this customer.

4. Click on the green + button at the top of the page to create a new invoice, (or any other document type (receipt, tax invoice, credit invoice, etc.) you’d like to create.

Voila! Your customer’s information will automatically be entered into the “Vendor” field.
Android
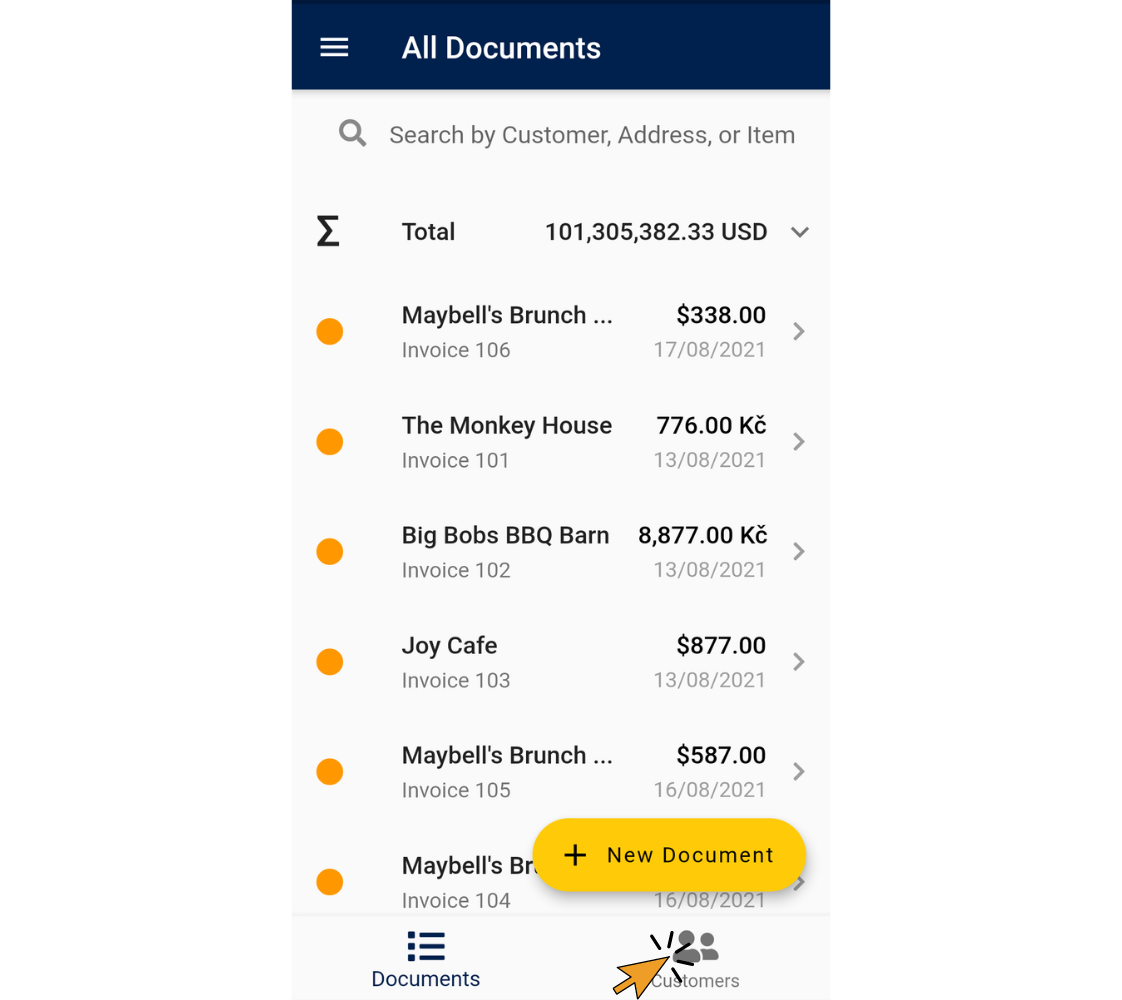
1. Open the Invoice Home App.
2. Tap “Customers” in the bottom right corner of the screen.
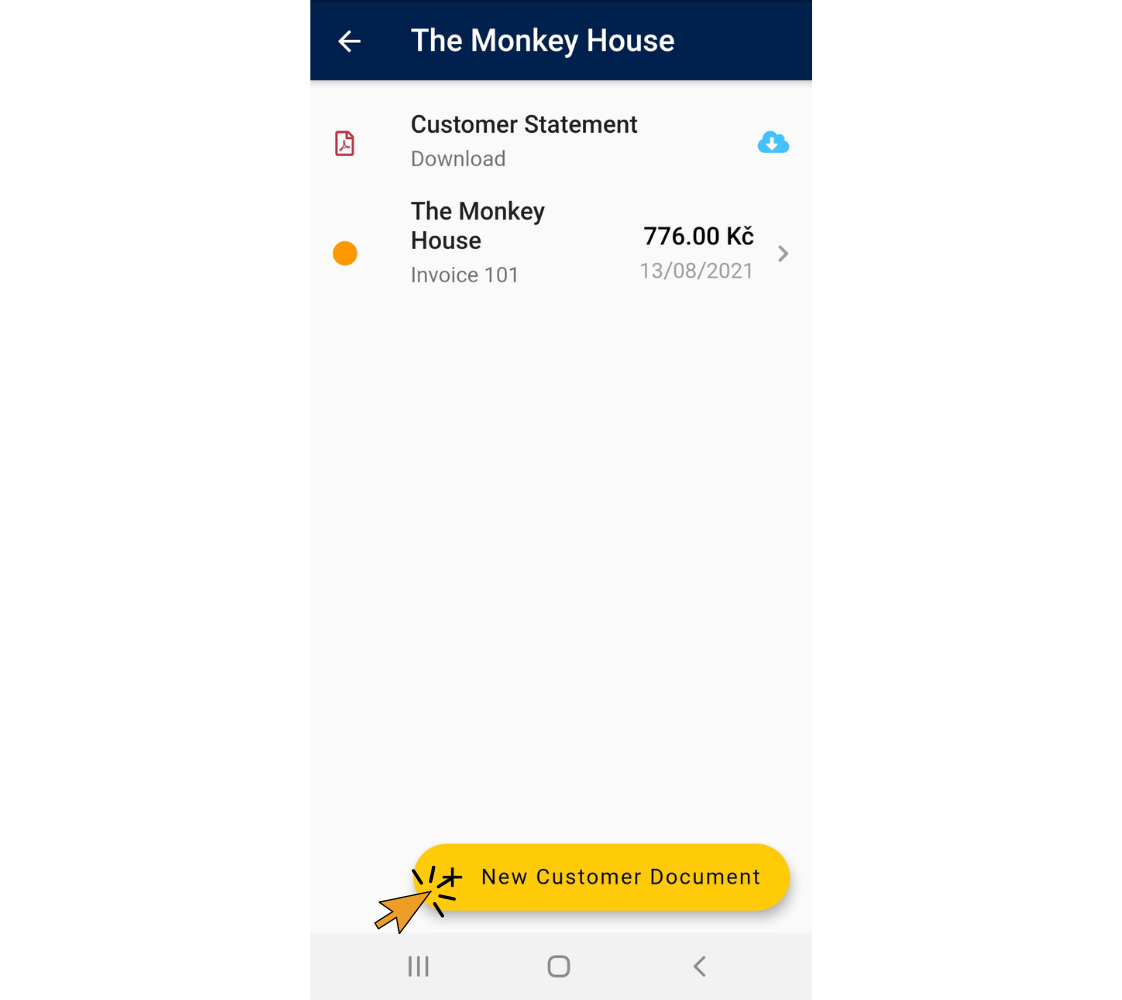
3. Tap on your customer’s name. A new screen will open with all of the documents you’ve created for this customer.

4. Click “New Customer Document” in the bottom right corner of the screen.
5. If necessary, click “Switch Document” and select the document type you would like to create.
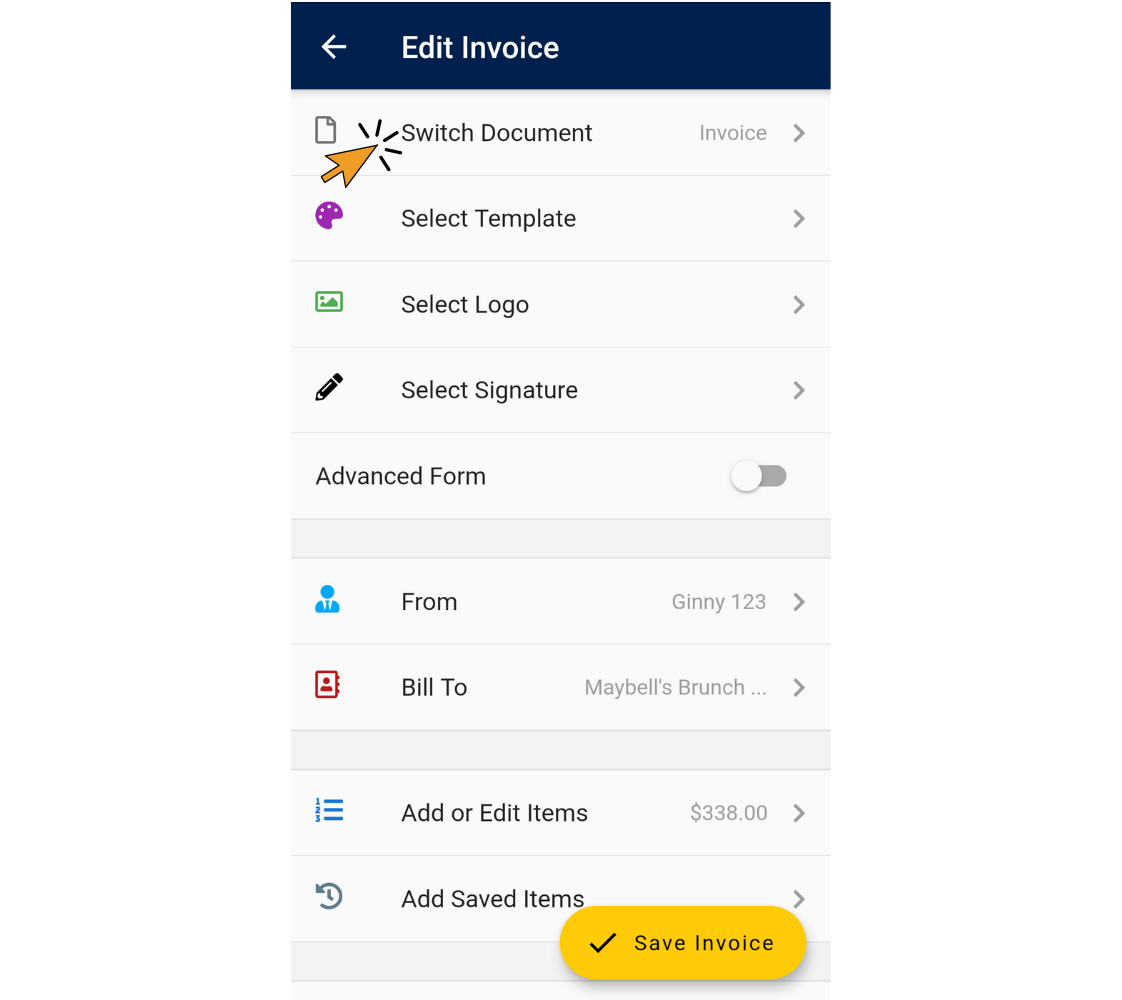
Voila! Your customer’s information will automatically be entered into the “Bill To” field of the new document.
Invoice Home App - iOS
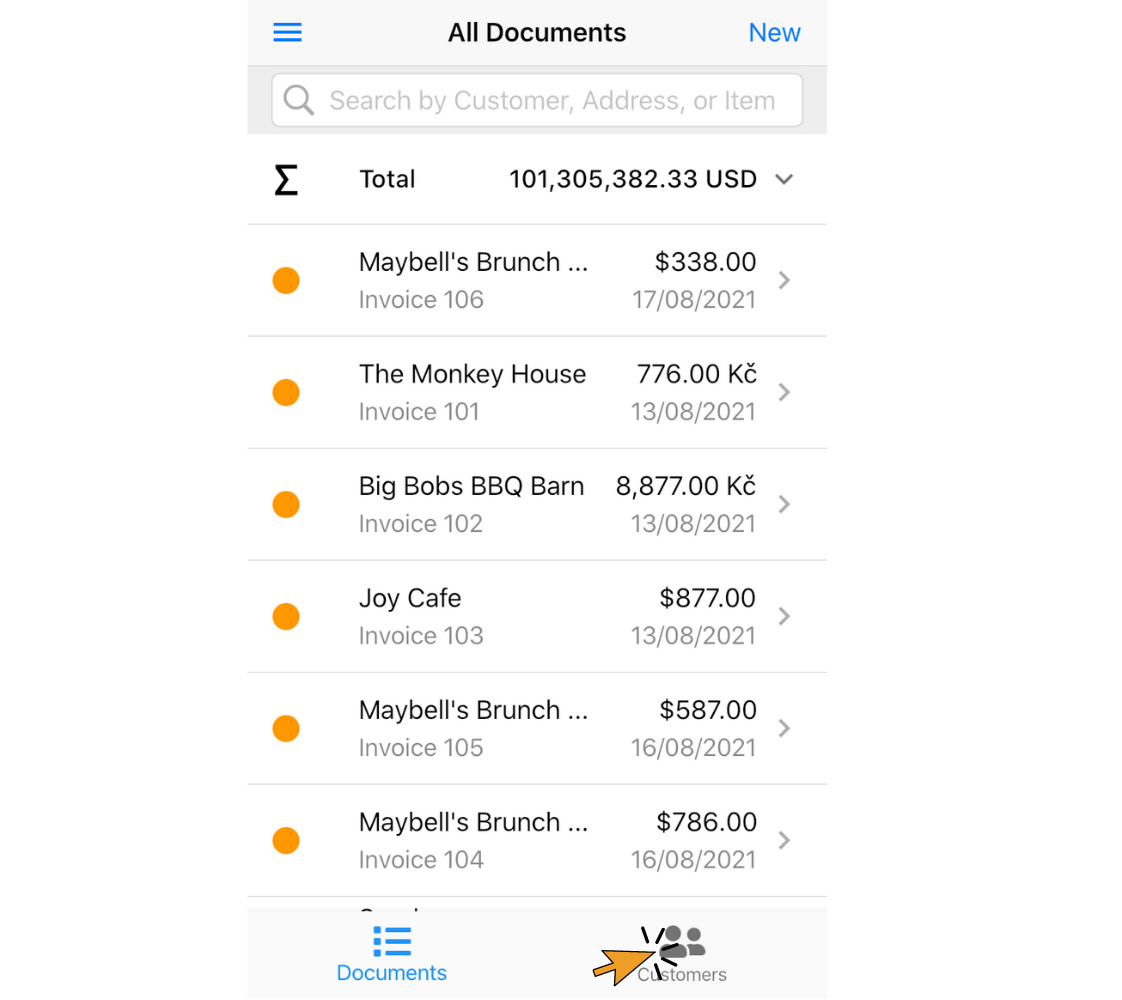
1. Open the Invoice Home App.
2. Tap “Customers” in the bottom right corner of the screen.
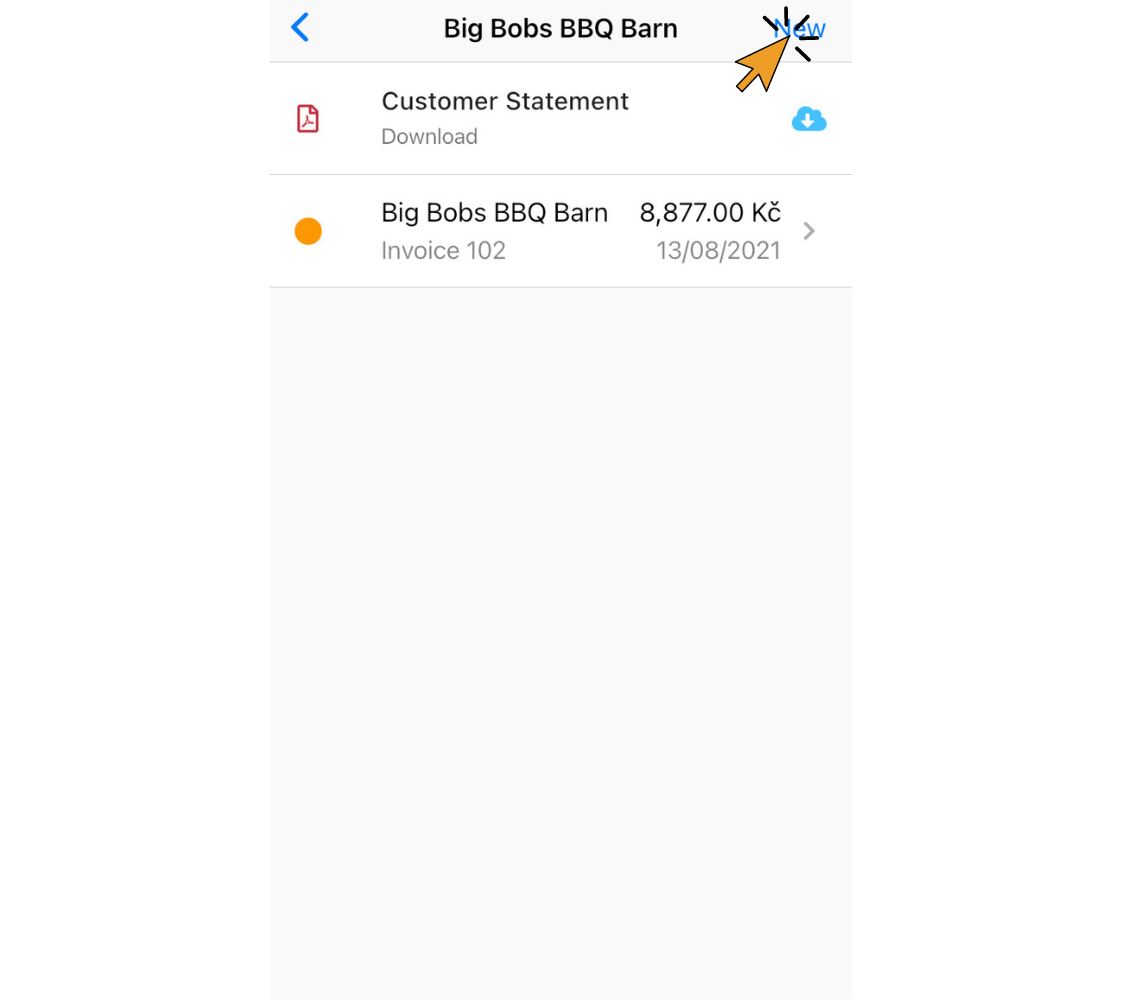
3. Tap on your customer’s name.

4. Tap “New” in the top right corner of the screen.
5. If necessary, click “Switch Document” and select the document type you would like to create.
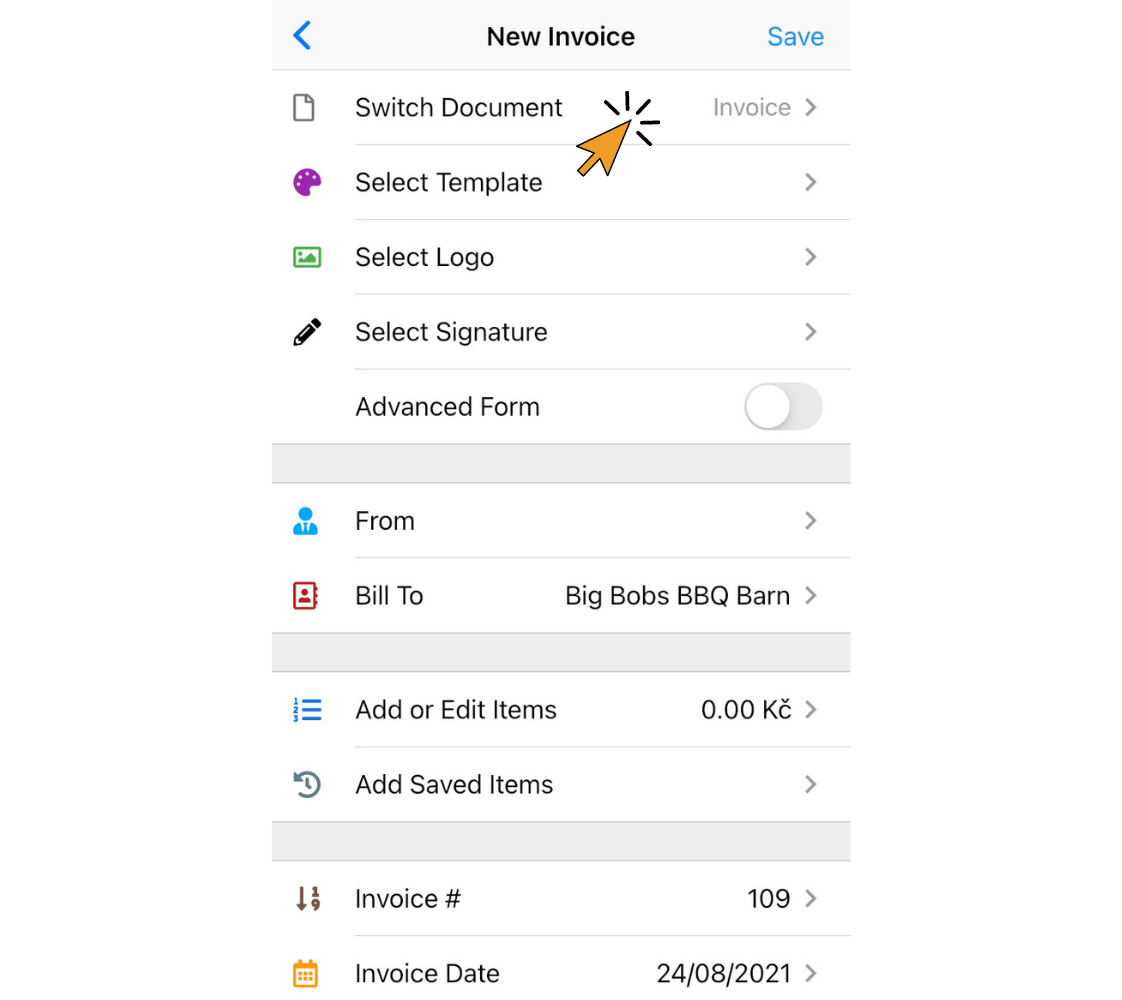
Voila! Your customer’s information will automatically be entered into the “Bill To” field of the new document.
Find out more about Invoice Home’s features and functions!

Thank you for using Invoice Home!